Everything starts with a great cookie dough. Something that keeps the shape of the cookie cutter. I've tried other recipes over the years but this one is the best. Not only does it deep the shape of the cutter, it tastes really good.
I prepared the dough, put it in the fridge to chill, and then proceeded to roll it out on the fabulous piece of marble that is part of our island.
 I started with bunny shapes.
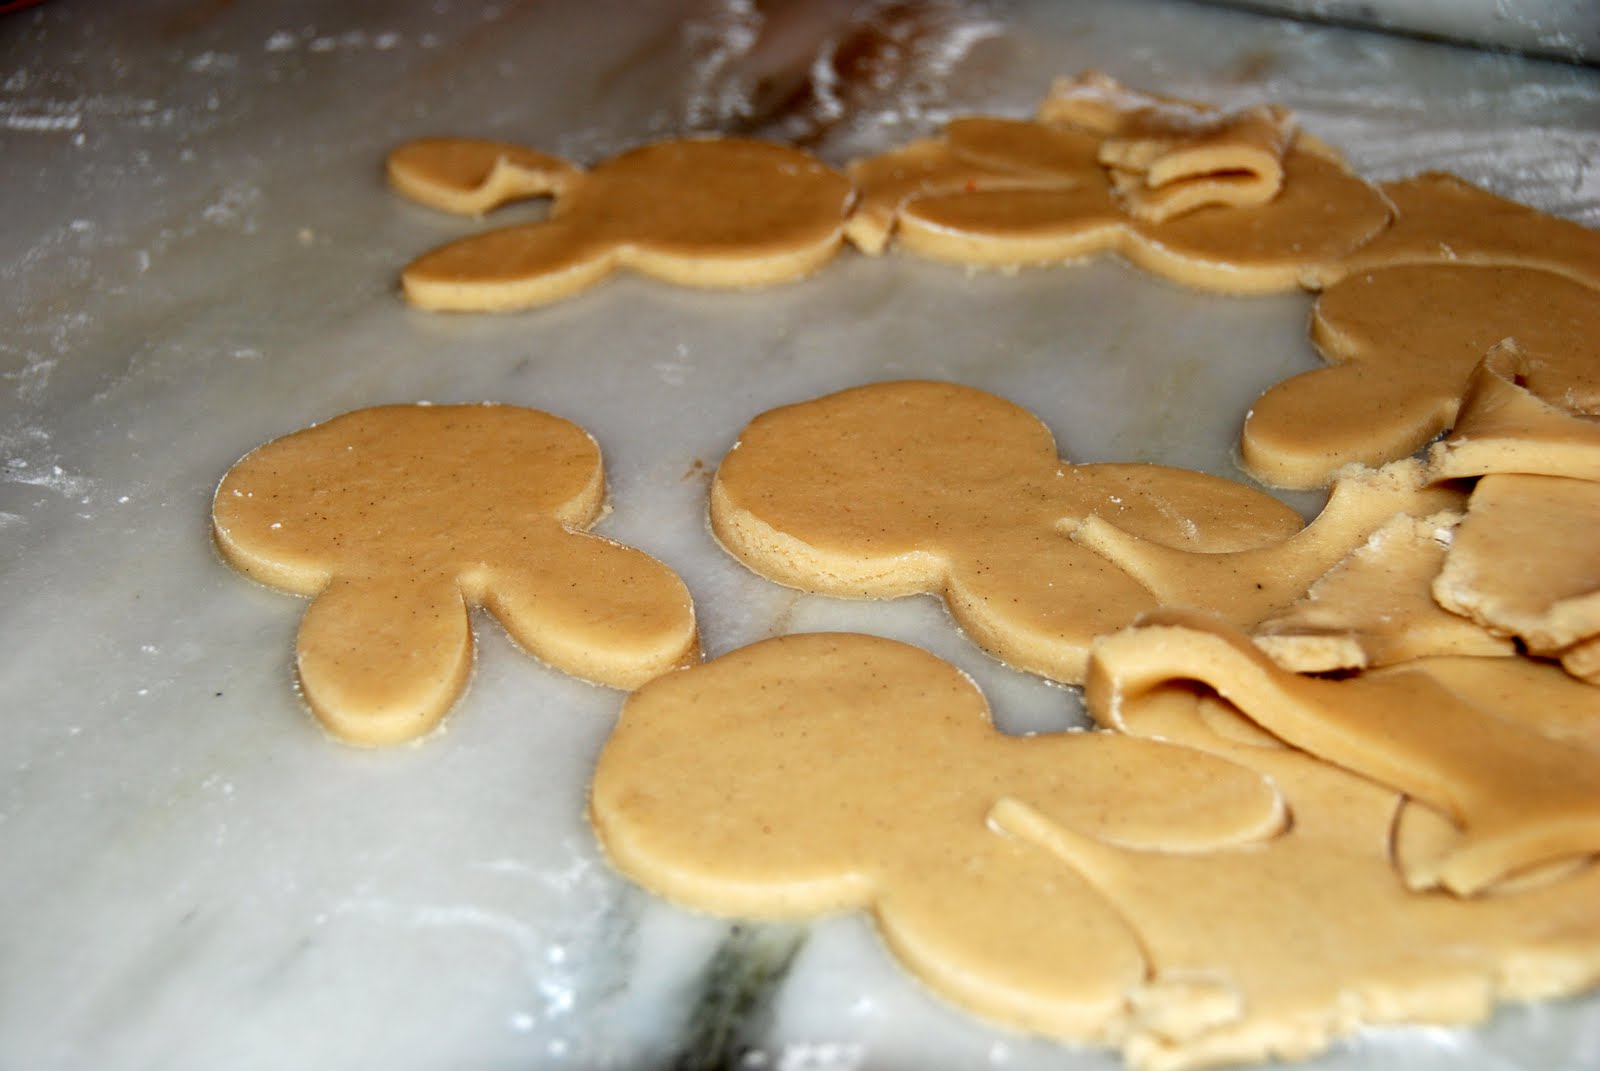 Then popped them into the oven on cookie sheets lined with parchment paper. I'm a big believer in parchment paper for baking. Not only does it guarantee a great product, the clean up is so much easier.
 With the dough all rolled, cut, baked and the cookies cooled, it was time to get started decorating.
 The Royal Icing recipe posted a week or so ago was doubled then the icing was separated into several bowls, covered with damp (very damp, okay, wet), paper towels, then dyed with Wilton food coloring, the kind that is a gel. Preparing all of the colors needed, the icing was transferred into disposable pastry / icing bags found at the local craft store.
 These little candies were also purchased at the craft store. Didn't know what they would be used for when they went into the basket, but certainly glad they came home with me.
 Starting off simply, I outlined the bunny shape with the white icing, then placed two little button candies for the eyes, and with the icing still damp, sprinkled the pink sanding sugar for the ears. Then used white sanding sugar all over the bunny face. Set all of them aside to dry.
 Next up were the chicks. These would take a couple of colors, yellow and orange. Starting with the yellow I outlined the body, filled in the body with squiggles of icing and then spread the icing with a small, off-set spatula being careful not to disturb the outline. The little candy was used for the eye and yellow sanding sugar was sprinkled all over the body.
 These were also set aside to dry while the flowers and butterflies were decorated with icing.
 Then it was time for the finishing touches on the cookies...noses and whiskers for Mr. Rabbit.
 Embellishments for the butterflies.
 It was really so much fun and one started, the creativity just kept coming.
 Beaks and feet for the chicks covered with orange sprinkles.
The they were all packaged and shipped off to nieces and nephews and arrived in plenty of time for Easter.
Sugar Cookies
1 cups all purpose flour
1/4 tsp. salt
3/4 cup salted butter, softened
3/4 cup granulated sugar
1 large egg
1 tsp. pure vanilla extract
Yield: 3 dozen cookies (or less if using large cutters)
preheat oven to 325 degrees
In a medium bowl combine the flour and salt with a wire whisk.
In a large mixing bowl cream the butter and sugar with an electric mixer on medium speed. Add the egg and vanilla, and beat until well mixed. Scrape down sides of bowl, then add the flour mixture. Blend on low speed just until combined. Do not overmix.
Gather dough into a ball. Flatten the ball into a disk and wrap tightly in plastic wrap or a plastic bag. Refrigerate 1 hour until firm
On a floured surface. roll out dough to a 1/4 inch thickness. With cookie cutters, cut dough into desired shapes and place on ungreased cookie sheets. Decorate with colored sugars or sprinkles if desired.
Bake for 13-15 minutes, being careful no to brown. Immediately transfer cookies with a spatula to cooling racks.
Decorate using Royal Icing


No comments:
Post a Comment