Wednesday, April 28, 2010

Pink!

The daughter of my friend, Wendy, was turning 4 and she asked me to bake a cake and cookies to celebrate the Princess Party she was having.
Well, naturally that called for pink and lots of it.
I started out by gathering all of the pink items I had.
First were the pink quins..

Next were the jumbo pink hearts
and the sanding sugar in different shades of pink, along with the pearls and pink candy on paper.

I then mixed up an double batch of Royal Icing in white,
light pink and hot pink.

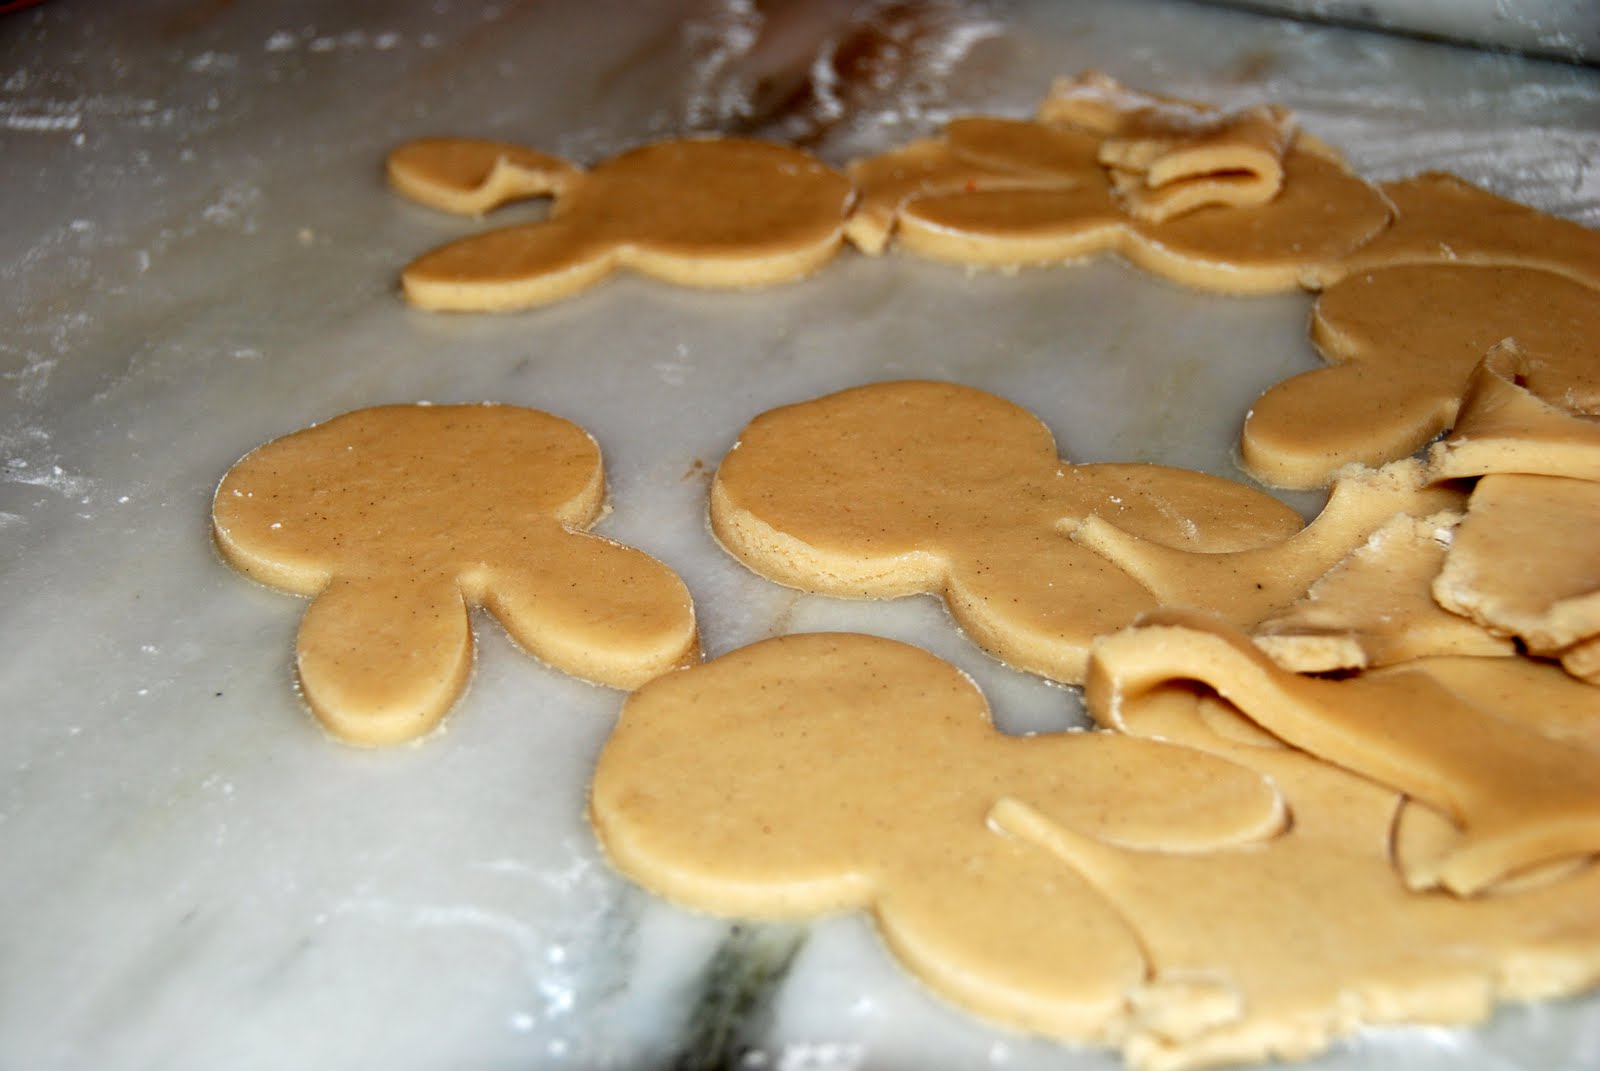
The day before I had baked the 4 layer cake and also baked several dozen sugar
cookies in the shape of butterflies and crowns.

I'm not naturally gifted in the area of cookie decorating so I had to try to think like a child and what they would like on the cookies. LOTS of sanding sugar and to cut down on the possibility of someone feeling as if 'their' cookie wasn't as good as all the others, had to be sure to put enough stuff on each cookie. You gotta be fair.

The crowns were fun and I'll be doing more of those later.


The cake was fairly large - 2 6-inch layers of white cake on top of 2 layers of chocolate cake. This is the chocolate cake recipe posted several weeks ago.
The white cake is from one of my favorite cookbooks, The Best Recipe.

Below is a photo of Skylar blowing out her candles.
It is possibly the sweetest photo I've ever seen.


A cake fit for a princess.

Tuesday, April 20, 2010

Secrets

Secrets…don’t you love them?

I have many secrets that will go to the grave with me; things that I’ll never share with anyone, like how I make my incredible chocolate chip cookies although everyone in the free world has access to the same recipe. That secret is mine to keep and I spent years mastering the art of the perfect chocolate chip cookie and it’s totally okay that I don’t share. I can live with that.

But, there are some secrets that just must be shared.

Like when your daughter tells you that she is expecting her first baby and you are going to be a grandma for the first time, but promise not to mention it to anyone at all until she can tell her dad, but you just about explode with excitement and have to share it with your friends….that kind of secret is meant to be shared.

I have one of those secrets.

For Valentine’s Day, Mr. Man gave me a new KitchenAid mixer and two cooking classes at Sur La Table. For those of you unfamiliar with Sur La Table, it is possibly the best cooking/baking retail store in the Dallas area. They have everything and I mean everything there.

The classes were okay but it’s what I was exposed to during my Cooking with Eggs class that really sent me into a tizzy.

This…
Madagascar Bourbon Pure Vanilla Bean Paste

This is by far the most incredible food item in the world, or at least it is for now. One little dab of it on my finger tip almost sent me running through the store to grab a bottle. Everyone else in the class….ho hum. They were nonplussed about it. Are you kidding me? This stuff is spectacular.

I’ll admit that it is pricey; $10.95 for a 4 fluid ounce bottle, but worth it for special occasions or certain desserts like crème brûlée, cheesecake or poundcake.
Deelish!
Okay, so maybe some of you have known about it and you are quite possibly laughing at me. Laugh away. I'll still believe that I have opened your eyes to something wonderful and will rest well tonight believing that I have enlightened so many.
Bake on...

Monday, April 19, 2010

Carla's Carrot Cake


Before leaving St. Louis for Texas 26 years ago, I vividly recall digging through my mom's recipe box and copying everything I could remember her making over the years. When I came across this carrot cake recipe I jotted it down and tucked it away for a long time before trying it out.

My mom swears this recipe isn't hers and I don't ever recall eating carrot cake as a kid, but my girlfriends love it and this has become the favorite of my BFF, thus the name of the cake.


Following the recipe, I prepare the batter and then this time poured it into two 9-inch pans that have been greased and floured.


While the cake is cooling, prepare the cream cheese frosting.
I've learned from experience...you have to make lots of frosting.


For two layers, using a serrated knife, cut the layers in two horizontally.

Before you begin frosting the cake, be sure it's completely cooled otherwise you are going to have one gigantic mess on your hands.


Use generous amounts of frosting between the layers.


It's okay if the frosting starts to spread out between the layers.


You'll want to get down and eyeball the cake to make sure it's level and not lilting one way or the other. Frosting can be used to shore up one side if it's not even.

Once you have all of the layers on the cake, spread a thin layer of frosting all over the cake...this is typically referred to as the 'crumb layer' and it will keep the crumbs from getting into the top layer of cake.

Once the crumb layer is on, pop the cake into the fridge for about 10 minutes to let the frosting set. The final layer of frosting will go on that much easier.


If you are a pecan lover, chop extra pecans and while the frosting is still soft, press the pecans into the frosting, half way up the sides.
Beautiful and oh so yummy!


Carrot Cake source: Mary Mueller aka Nana

3 cups shredded carrots
1 cup chopped pecans
2 cups granulated sugar
1 ½ cups vegetable oil
1 tablespoon vanilla
4 large eggs, room temperature
3 teaspoons cinnamon
1 teaspoon salt
2 teaspoons baking soda
2 cups all-purpose flour

1. Preheat the oven to 350 degrees. Using shortening, grease the bottoms of two 9 inch cake rounds or three 8-inch cake rounds and line with parchment or waxed paper. Grease the parchment rounds and dust with flour, tapping out excess.
2. Combine the flour, cinnamon, salt and baking soda.
3. In a stand up mixer, using the padel attachment, combine the granulated sugar and vegetable oil until well blended. Add vanilla and then the eggs, one-at-a-time, mixing well until all is incorporated
4. Add the flour mixture and mix until smooth but avoid over beating. Add the carrots and pecans.
5. Pour, evenly, into prepared pans.
6. Bake for 28 - 30 minutes. Cake is baked when the top springs back.
7. Cool in pans for 10 minutes then turn out onto cooling racks. Cool completely before icing with cream cheese frosting.


Cream Cheese Frosting

8 ounces cream cheese, softened
4 ounces butter, room temp.
1 teaspoon vanilla
1 lb. powdered sugar

Mix well.


Wednesday, April 14, 2010


Like most people I know, my diet consists of a variety of foods, some good for me and others that aren't too good for me. Hey, I bake with real butter and eggs; not what my cardiologist would really like me to be eating, but I follow my mom's advice..everything in moderation, so I do okay.


For the past week I've been in Ft. Wayne, Indiana taking care of Mr. Squishy, aka my grandson, and a few things really struck me, primarily, the food we feed our children.


Honey Girl does a good job of feeding Mr. Squishy the right stuff - lots of veggies, fruit, meat, nothing fried and easy on the sweet stuff. I did, however, take a look at the labels on the can of peaches he was inhaling and was really surprised to see that the store brand had peaches packed in 'heavy syrup' aka high fructose corn syrup. I had to stop myself from grabbing his plate and tossing them down the drain.


To me, high fructose corn syrup is the enemy, especially when given to children.


So, after dropping the little guy off at day care the next morning, I drove over to the big box retailer where Honey Girl does her shopping to do a little label investigating, which ended up being very discouraging.


Who do these big companies think they are, packaging food in bright colors that kids will like and covered with words like "Made with real fruit juice" and "100% vitamin C" so the uneducated parent will feel as if they are doing the right thing? I was stunned.


It's no wonder we are a nation of overweight, obese, diabetic people when the food that the vast majority of people can afford is terrible for us. I understand why people purchase this inexpensive food, I just wish it weren't so.


I'll admit...when my kids were young and I was raising them alone with very limited funds, I bought packaged food, thinking I was doing something good for them. Hey, it was made with real juice, right? We all know so much more now and I really find it appalling and disappointing that this stuff sells.


Instead of the administration trying to get everyone to grow a vegetable garden while they are also regulating Wall Street and running automobile companies, why don't they incent the CPG companies to create healthy food choices that people can actually afford? Why not create programs in our schools that teach children and young adults what can happen if you put bad food into your body and also subsidize schools with fresh food for the students. Get rid of the junk - just make the schools stop buying it and cooking with it. Believe me, you let a kid get hungry enough and they'll start to eat the good stuff.


It's as if our entire nation needs a high-fructose corn syrup intervention.


I don't want the government telling me what to do in any area of my life; however, we owe it to our children to provide proper nutrition to them just like our parents had when growing up. We all need to give our kids a better start and to avoid anything that isn't good for them.


You wouldn't give a child a highly addictive drug, would you? High fructose corn syrup is the same thing - it is highly addictive.


Mr. Squishy had peach slices packed in pear juice last night and he ate them with as much gusto as the ones that were packed in high fructose corn syrup. I'm going to start with this child and maybe if we all make changes at home, together we can make a change in the world.

Monday, April 12, 2010

Opening Day!

You know Spring has finally arrived when you go outside and see dad's playing catch with kids and hear the unmistakable crack of a bat.

I just love baseball; not because it's the only organized sport I truly understand, but because it reminds me of all the years Honey Girl and I would watch her younger brother, Buddy Boy, play baseball. He was a natural, but after several years of playing two sports, baseball and soccer, soccer won. Buddy Boy hung up his glove and it was off to the soccer fields in the spring and summer.

His love of soccer never diminished my love of baseball and in celebration of America's Favorite past time I created these red velvet cake balls to celebrate opening day for the Texas Rangers.

Melting the royal blue candy melts came first...into the double boiler they went.
I also melted white ones.

I made a few jumbo sized cake balls and used big sticks for them. Dipped the cake balls into the blue candy melts.


The Texas Rangers "T" was cut out of fondant using a new exacto knife.

Some of the small cake balls were dipped in white and decorated to look like baseballs.


Unfortunately I don't have a very steady hand. The stitching is more reminiscent of Frankenstein than baseballs. Oh well, it's the thought that counts, right?
But something is still missing...


Okay, that's better.
Go Rangers! I hope they have a great year.

Tuesday, April 6, 2010

The kitchen is closed...for a few days

All of the cake balls have been dipped, the tarts have been filled and the flour stored away. All of the dishes are washed, dried and put away in neat little piles. The island is bare. I think about it and can't recall a time when I wasn't in the middle of a project or thinking of what to bake next.

I'm packing to go away for 9 days.

Mr. Man isn't too excited. He'll be coming home to a quiet home every night...well, at least for the next 9 nights.

I'm heading North, to Ft. Wayne, Indiana, to visit my Honey Girl, son-in-law and my darling grandson, lovingly referred to as Mr. Squishy.

I call him that because he is large, very large for a 20 month old. At birth he weighed 9 lbs, 6 ounces and at 18 months was a whopping 29 lbs. Thus...Mr. Squishy. He can't help it - he's corn fed.

So I will be playing with and squeezing and hugging on that little boy for the next 9 days and not baking. My KitchenAid mixer will miss me and I it, but we will survive. And I will be better for the time away.

This time will be embraced, enjoyed and soaked in, because at some point Gigi will be boring for this little man who currently loves me and smiles when he sees me. And I will savor every moment I have with him.

Sunday, April 4, 2010

Happy Easter!

Have you always wanted to make the really pretty decorated sugar cookies but were too intimidate to do it? Me too, until last week. After my success with the cupcake shaped sugar cookie, I thought I'd go ahead and tackle something a little more difficult.

Everything starts with a great cookie dough. Something that keeps the shape of the cookie cutter. I've tried other recipes over the years but this one is the best. Not only does it deep the shape of the cutter, it tastes really good.

I prepared the dough, put it in the fridge to chill, and then proceeded to roll it out on the fabulous piece of marble that is part of our island.

I started with bunny shapes.


Then popped them into the oven on cookie sheets lined with parchment paper. I'm a big believer in parchment paper for baking. Not only does it guarantee a great product, the clean up is so much easier.

With the dough all rolled, cut, baked and the cookies cooled, it was time to get started decorating.

The Royal Icing recipe posted a week or so ago was doubled then the icing was separated into several bowls, covered with damp (very damp, okay, wet), paper towels, then dyed with Wilton food coloring, the kind that is a gel. Preparing all of the colors needed, the icing was transferred into disposable pastry / icing bags found at the local craft store.
These little candies were also purchased at the craft store. Didn't know what they would be used for when they went into the basket, but certainly glad they came home with me.
Starting off simply, I outlined the bunny shape with the white icing, then placed two little button candies for the eyes, and with the icing still damp, sprinkled the pink sanding sugar for the ears. Then used white sanding sugar all over the bunny face. Set all of them aside to dry.

Next up were the chicks. These would take a couple of colors, yellow and orange. Starting with the yellow I outlined the body, filled in the body with squiggles of icing and then spread the icing with a small, off-set spatula being careful not to disturb the outline. The little candy was used for the eye and yellow sanding sugar was sprinkled all over the body.
These were also set aside to dry while the flowers and butterflies were decorated with icing.

Then it was time for the finishing touches on the cookies...noses and whiskers for Mr. Rabbit.

Embellishments for the butterflies.

It was really so much fun and one started, the creativity just kept coming.

Beaks and feet for the chicks covered with orange sprinkles.


The they were all packaged and shipped off to nieces and nephews and arrived in plenty of time for Easter.
Sugar Cookies
1 cups all purpose flour
1/4 tsp. salt
3/4 cup salted butter, softened
3/4 cup granulated sugar
1 large egg
1 tsp. pure vanilla extract
Yield: 3 dozen cookies (or less if using large cutters)
preheat oven to 325 degrees
In a medium bowl combine the flour and salt with a wire whisk.
In a large mixing bowl cream the butter and sugar with an electric mixer on medium speed. Add the egg and vanilla, and beat until well mixed. Scrape down sides of bowl, then add the flour mixture. Blend on low speed just until combined. Do not overmix.
Gather dough into a ball. Flatten the ball into a disk and wrap tightly in plastic wrap or a plastic bag. Refrigerate 1 hour until firm
On a floured surface. roll out dough to a 1/4 inch thickness. With cookie cutters, cut dough into desired shapes and place on ungreased cookie sheets. Decorate with colored sugars or sprinkles if desired.
Bake for 13-15 minutes, being careful no to brown. Immediately transfer cookies with a spatula to cooling racks.
Decorate using Royal Icing